Friday, September 2, 2011

Learning to crochet...

So ive had a few friends that know how to crochet quite proficiently. I have always wanted to learn. I asked to be taught but it seems that time always escaped us and now i live pretty far from most of them So thats when i though...Ill teach myself! Ok let me be honest here. I have been supposed to "teach myself" to play the acoustic guitar that has been sitting in my room for years. I have yet to try more than twice. Time always escapes me. Im also Pretty good at doing alot of things, but I am yet to find something that I am really good at. Well my friends, i think i may have found my nitch! I am just learning and im pretty good at it if i do say so myself :) So i started off by buying a kit at wal-mart called "I taught myself to crochet" It helped with the basics. I learned how to hold the string, how to do a chain, single and double crochet. I made my first few blankets....they looked awful. I guess i didnt quite understand. I never really have the money to go out and just buy stuff to mess around and see if i can do something. It doesnt work like that when you are living on one income. two years ago on my wonderful sister in law gave me an amazon gift card. YAY!!! I bought the Crochet "For Dummies" book. and have been slowly going through it over that time and made some junk and now am starting to really get the hang of it. I skipped the first few chapters since i knew some of the basics already. But it worked out great, even now if i come to something i dont understand or remember i can refer back to previous chapters. Ive never used a "For Dummies" book, but they way it is set up is so easy and user friendly that i will definitely be using them again if the need or desire arises. So now without further ado, I have made a few things that are actually worthy of use!I have also taught myself amigurumi!I made a frog... For a first try i think its pretty good! Also below is a scarf i made using every stitch i know.


Don't Throw it Away!!!!!

Heres two great ways to recycle, One is an old standby for me, the other i just started doing the other day when i realized the area under my sink is a disaster.

Would you throw this away? You used the butter, now what?


Dont trash it, i flatten them out, put them in a freezer zip-lock and pop them in the freezer. Next time im baking and i need to grease up a cookie sheet or casserole dish, i pull one out and rub it on! Works great. Only then do the butter wrappers make their way to the garbage can in my house.

Next up, New use for Paper towel rolls. I always threw these out unless we were making binoculars or some other project for the kids. The other day I was grabbing a plastic bag from under the sink for doggie duty and i realized it was probably the messiest place in my house under there! The reason was all the plastic bags that i cant bring myself to throw away....they had taken over!!!! SO i decided something had to be done. shoving them inside each other just isnt working for me anymore. I feel like I read this somewhere or saw someone else do it, and i wish i could give credit where credit is due but i have no idea where i found this or whether it was just luck that i happened to look around the kitch and see the empty paper towel roll. I shoved all the plasic bags i could inside and have been collecting them and doing the same everytime the roll is empty. Soon i will have a nice neat stack of rolls of plasic bags. So easy to just reach in and pull one out!

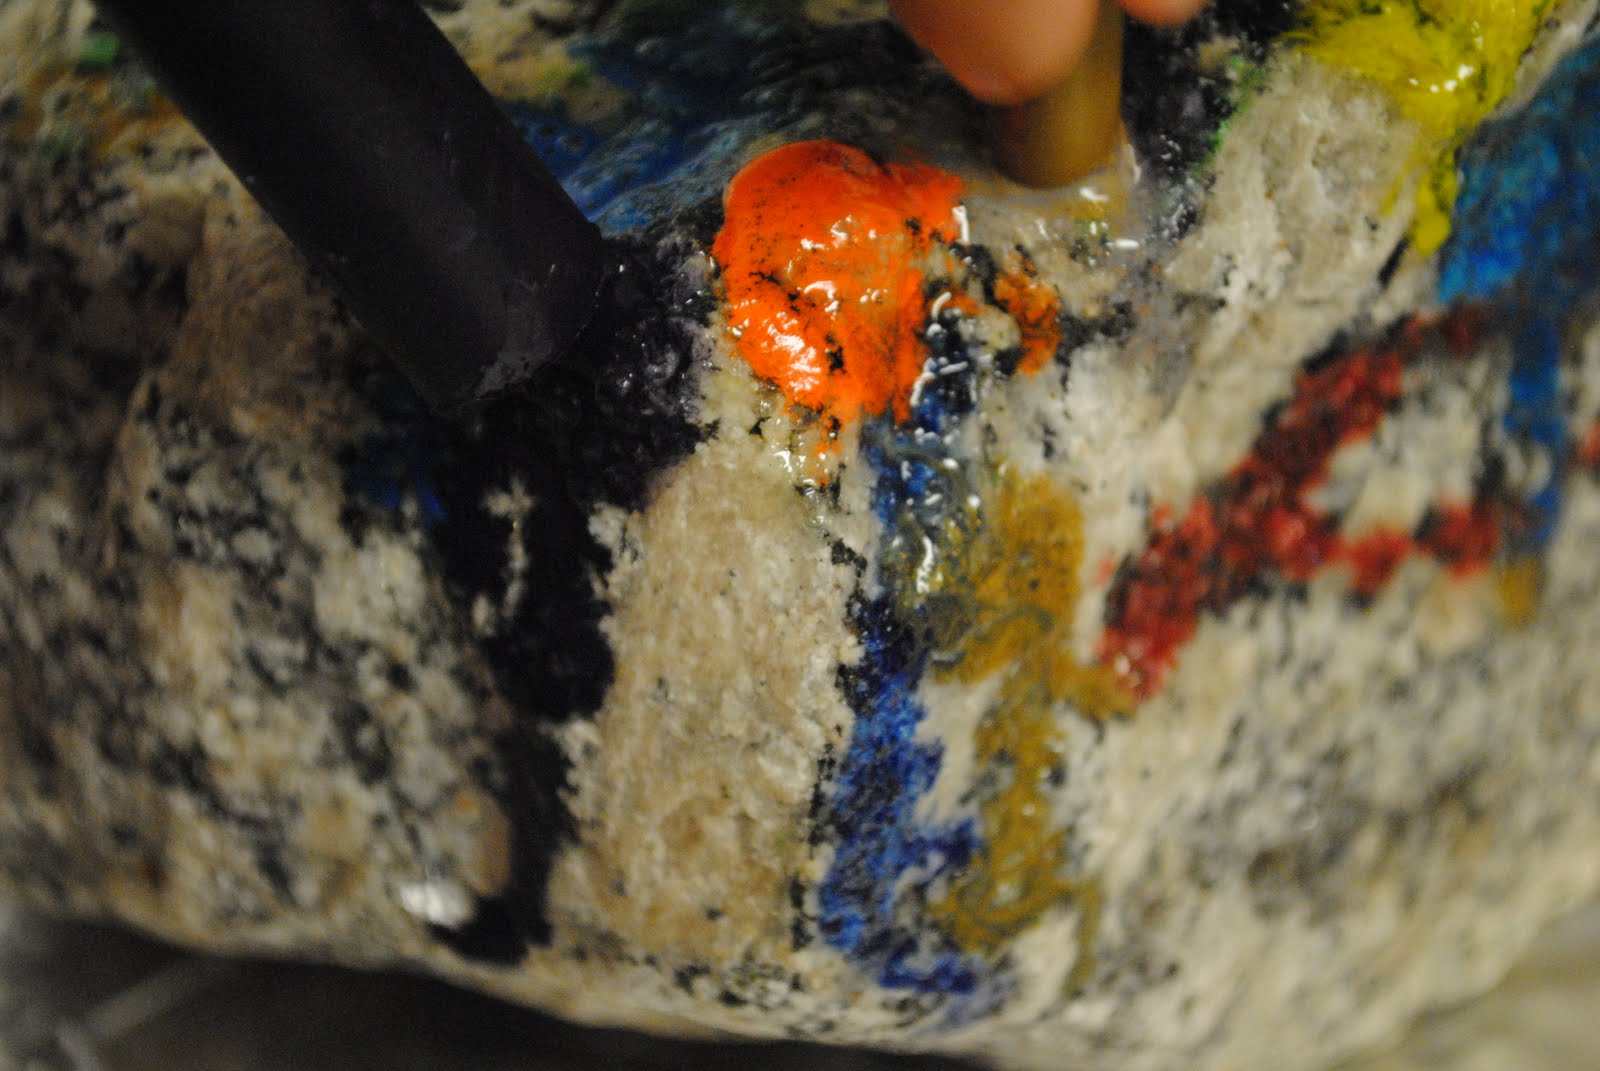
Crayon Rocks


I did this project the first time with The big minion when she was about 3. Its one that you really have to judge your childs direction following skills before doing since it involes an oven and a hot cookie sheet. Basically you melt the crayons onto a hot rock. Stands up to the elements pretty nicely so we put them in the garden. My Iz USED to be a great listener HA! but in all seriousness, she is now almost 6 and still remembers doing this when she was little. We had a blast with this the other day :)


First you need to find some large rocks, which can be an adventure all on its own. We have a "nature bucket"  that we keep stocked outside with all sorts of treasure that  we find on our nature walks and such. Preheat your oven to 350 degrees and line a cookie sheet with foil. Place the rocks on the cookie sheet and pop them in the oven. for younger kids just a few minutes to heat it up should suffice, but we put it in for about 30 min (i may have forgotten about them for a bit..oops, oh well!). While they are heating up pick out some colors of crayone to use. I like to use old crayons we have stored in an empty coffee container. Peel back the paper off the crayons  Once the rocks come out of the oven they will be very hot. make sure to take caution that the kids avoid touching the rock or cookie sheet. If you want you can put dish old dish towels over the cookie sheet but keep in mind they may get ruined. Then you simply melt the crayons onto the hot rock by touching them to it. Its super easy and alot of fun if you keep safety in mind. Our rock was so hot that the crayon actually bubbled in some spots. It turned out beautifully.  Let cool completely before picking up.


Friday, August 19, 2011

Homemade Doggie Biscuits

Ingredients 
1 cup rolled oats or oatmeal
1 cup boiling water
3/4 cup cornmeal
3 teaspoons white sugar
2 1/2 teaspoons beef bouillon granules
1/2 cup milk
1 cup shredded Cheddar cheese
1 egg, beaten
3 cups whole wheat flour

1/3 cup butter or margarine
Flour for rolling out dough 

Preheat oven to 325. Stir together oats, margarine, and boiling water. Let stand 10 minutes. Grease cookie sheet. Add cornmeal, sugar, bouillon, milk, Cheddar cheese, and egg, and stir by hand with a spoon (do NOT use an electric mixer as it will become very thick and actually fried my mixer). Gradually mix in flour, 1 cup at a time, until a stiff dough has formed. Knead dough on a lightly floured surface adding flour until a thick dough is formed and it isn't sticky.  Roll out dough to about 1/2 inch thick. Cut with cookie cutter and place 1 inch apart on cookie sheets. Bake around 45 minutes in oven, until golden brown. Cool before serving. Store in a loosely covered container. after they harden up more you can put them in pretty much any container. They store very well and the minion had a BLAST making them with me  :)


Stinky Laundry

So lately i have been CRAZY cleaning my house. Its been a complete disaster with school starting, a thousabd and one doctor appts(long story) and just general family life plus me slacking off for a day (or week) here and there. I have scrubbed walls (water and borax) and bleached every hard surface in the house. scrubber behind toilets, cleaned out drawers (pencil baskets/utensil holders make great organizers - read:dollar store) And a bunch of other stuff. my downstairs is sparkling. I dont want to talk about the upstairs. On another good note Ive been getting rid of alot if stuff and selling it on craigslist and some local sales sites on facebook. Its been really great and ive been using the money i make to buy other things off the site that i want or need. Let me be completely honest...its how i bought my daughters back to school clothes. With me not working at the moment theres not alot of spare money lying around to buy brand new clothes, or other desires, so i have gotten very creative. I keep saying i will blog about how i coupon, and i still intend to. ive just been very busy and have decided to blog during JackJack nap time when i can. But i digress.... Occasionally lately i have noticed a strange smell popping up here and there. Im a clean freak so its really been bothering me. When i smell it i go around trying to figure out what it is sniffing like a crazy cop dog that smells crack. its bad. Well I recently figured out where the smell was coming from....random pieces of my families CLEAN laundry. In particular my husbands work shirts at the end of the day, a pair of baby pajamas, a blanket, and a pair of my jeans. Its bad. Well after a million and one washes i figured it out. My washing machine is dirty. I cant explain why somethings dont get clean and others do, but after cleaning the thing out it seems to have totally solved the problem. I have never really done a big clean on my washer. I always wipe it down with bleach when im running a load of whites, but thats about it. Well i found this tutorial over at Somewhat Simple and i would like to share it. seemed easy enough and her pictures speak for themselves. check it out! How to clean a washer. It worked for me :)

Monday, June 6, 2011

Cinnamon Raisin Bread from scratch.


Ingredients

1 1/2 cups milk
1 cup warm water
2 packets active dry yeast
3 eggs
1/2 cup white sugar
1/2 cup margarine (softened)
1 tsp salt
1 1/2 - 2 cup raisins (to your liking)
about 8 cups all-purpose flour
2 tablespoons milk
1 cup white cinnamon sugar
2 tablespoons butter (melted)

Heat milk in a small saucepan just until it begins to foam over and bubble. Remove from heat and allow to cool slightly. Dissolve both packets of yeast in the warm water, and set aside until it gets foamy. Mix together eggs, sugar, butter or margarine, salt, and raisins. Mix in the yeast and water. Stir in the room temperature milk. Add the flour gradually until it forms a stiff dough the amount needed will changed based on weather, humidity etc. If you have a mixer with bread hooks it will be enough flour when the dough "chases" the hooks. Knead the dough on a lightly floured surface for a few minutes and then place the dough in a large pre-greased mixing bowl turning the dough to grease the entire surface. Cover the dough with a damp cloth. Set aside and allow to rise until doubled. using a rolling pin o n a generously floured surface, roll the dough into a large rectangle about 1/2 inch thick. Moisten dough with the 2 tablespoons milk (I like to use a brush to do so). Sprinkle the cinnamon sugar mixture and raisins on top of the moistened dough. Roll the dough up as tightly as you can, Cut into thirds, and tuck the ends under the loaves. Place each loaf into greased 9 x 5 inch pans. Lightly grease tops of loaves as well. Cover and let rise again for 1 hour. Bake at 350 degrees  for about 40-45 minutes. Loaves will be slightly browned and sound hollow when knocked if they are done. Remove from pans and brush with melted butter and enjoy! yummy!

Who says you need alot of cupcakes?


OH WOW these were delicious. I only really needed one cupcake for a photo shoot that my son was doing for his first birthday. looked all over the internet for small batch recipes...ehhh ill just whip up something myself. To my great surprise THEY ROCK! these cupcakes stand alone and dont really need any icing....not that i would ever let a cupcake go un-iced....but anyhow....The recipe makes just enough for 6 flat-topped cupcakes.

Ingredients :

2/3 c. flour
1/2 tsp. baking powder
1/8 tsp. salt
4 tbsp. milk
1 1/2 tsp. vanilla extract
5 tbsp. butter, softened
1/3 c. sugar
1 egg

Honestly i just mixed it all together except the egg. Beat it really well by hand and then mixed in the egg last. Put into paper lined cups and bake in a preheated oven at 350 degrees and voila! Decorate as desired!